How to Route All Home Traffic Through a Router VPN
In an increasingly interconnected world, protecting your digital privacy and securing your online activities is paramount. While installing a Virtual Private Network (VPN) client on individual devices offers a layer of protection, it can be cumbersome to manage across multiple gadgets, smart home devices, and guest access points. A more robust and comprehensive solution is to configure a VPN directly on your home router.
Routing all your home network traffic through a VPN at the router level ensures that every device connected to your Wi-Fi, from laptops and smartphones to smart TVs and IoT sensors, automatically benefits from the VPN's encryption and IP masking. This centralized approach simplifies management, eliminates the need for per-device installations, and provides a consistent security posture across your entire digital ecosystem.
Why Route VPN Traffic at the Router Level?
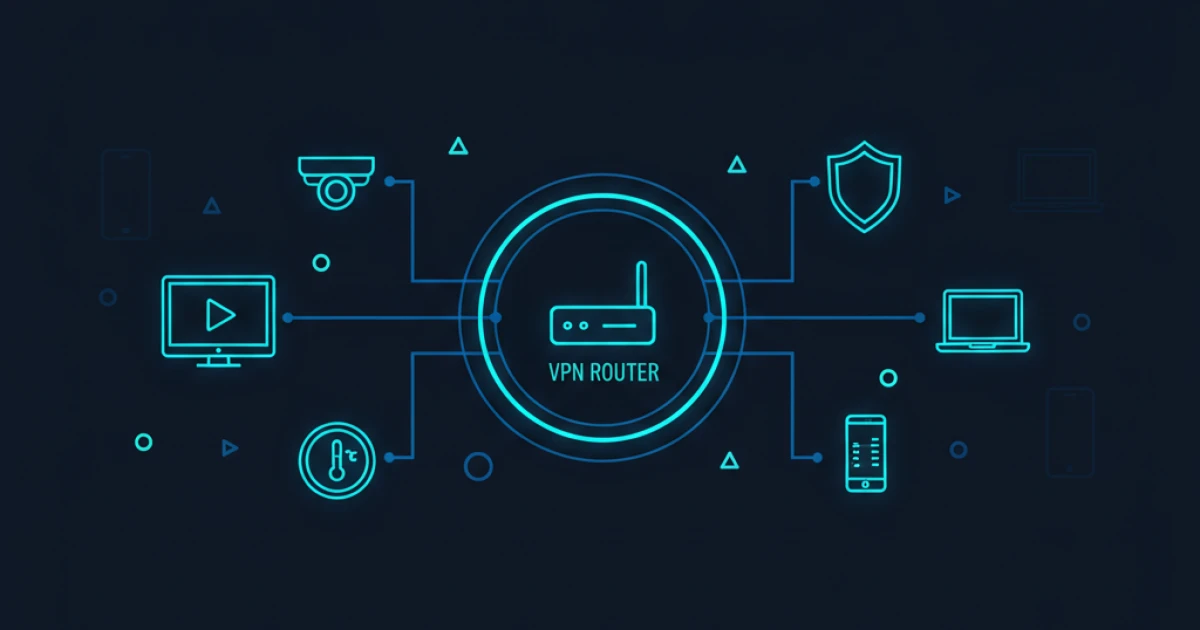
The primary advantage of a router-level VPN is its ability to protect all devices connected to your network simultaneously. Unlike individual VPN clients, which require installation and activation on each device, a router VPN extends its protection automatically. This is particularly beneficial for:
- All Connected Devices: Every smartphone, tablet, computer, and smart device (like smart TVs, gaming consoles, and IoT gadgets) on your network will have its traffic encrypted and routed through the VPN. Many smart devices don't even support VPN client software, making router-level protection the only viable option.
- Simplified Management: Configure once, protect everything. There's no need to install software on new devices or worry about forgotten activations.
- Bypassing Device Limitations: Devices that don't natively support VPN clients, such as older gaming consoles, streaming boxes, or specific smart home devices, can still benefit from VPN protection.
- Consistent Security: Ensures a uniform level of privacy and security across your entire home network, preventing potential vulnerabilities from unprotected devices.
- Accessing Geo-Restricted Content: All devices on your network will appear to be in the VPN server's location, allowing seamless access to region-locked content.
Prerequisites and Key Considerations
Before diving into the setup, it's crucial to understand the requirements and potential implications:
1. VPN-Compatible Router
Not all routers support VPN client functionality out of the box. Many consumer-grade routers lack the necessary firmware or processing power. You'll typically need a router that:
- Supports Custom Firmware: Routers compatible with open-source firmware like DD-WRT, OpenWRT, or Tomato are excellent choices, as they offer advanced features including robust VPN client support.
- Has Native VPN Client Support: Some higher-end routers from brands like Asus (with AsusWRT-Merlin), Netgear, or Linksys now include built-in OpenVPN or WireGuard client capabilities.
- Sufficient Processing Power: VPN encryption and decryption are CPU-intensive tasks. A more powerful router will ensure better performance and less speed degradation.
2. Reliable VPN Provider
Your VPN provider must support the protocols compatible with your router (typically OpenVPN or WireGuard) and provide the necessary configuration files (e.g., .ovpn files) and credentials. Choose a provider with a strong no-logs policy, ample server locations, and good customer support. When researching providers, consider their server locations, which you can sometimes explore via geographical tools or by looking up IP ranges on WorldIP.io's IP Range pages.
3. Technical Skill and Backup
Setting up a router VPN often involves navigating advanced router settings or even flashing custom firmware, which carries a small risk of bricking your device if done incorrectly. Always back up your router's current configuration before making significant changes.
4. Potential Speed Impact
Routing all traffic through a VPN server adds latency and involves encryption/decryption overhead, which can reduce your internet speed. The extent of this impact depends on your router's processing power, your internet connection speed, and the VPN server's distance and load.
General Steps to Set Up a VPN on Your Router
While specific steps vary greatly depending on your router's make, model, and firmware, the general process involves these stages:
1. Access Your Router's Administration Panel
Open a web browser and enter your router's IP address (e.g., 192.168.1.1 or 192.168.0.1). Log in with your administrator credentials.
2. Update Firmware (If Necessary)
If you're using custom firmware like DD-WRT or OpenWRT, ensure it's updated to the latest stable version. If your stock firmware supports VPN clients, check for any available updates from the manufacturer.
3. Locate VPN Client Settings
Navigate through your router's interface to find the VPN client section. This might be under 'VPN', 'Advanced Settings', 'WAN', or 'Services'. Do not confuse this with a VPN server setting, which allows external devices to connect into your home network.
4. Configure the VPN Client
This is the most critical step and varies most widely. You'll typically need to:
- Select VPN Protocol: Choose OpenVPN or WireGuard, matching your VPN provider's offerings.
- Import Configuration File: For OpenVPN, you'll often upload the
.ovpnconfiguration file provided by your VPN service. This file contains server addresses, port numbers, and certificate information. - Enter Credentials: Input your VPN username and password.
- Specify DNS Servers: It's crucial to use your VPN provider's DNS servers to prevent DNS leaks, which can reveal your real IP address.
- Enable a Kill Switch (Firewall Rules): Configure firewall rules to block all internet traffic if the VPN connection drops. This prevents your devices from unintentionally connecting to the internet without VPN protection.
5. Apply and Reboot
Save your settings and reboot your router. The VPN connection should establish automatically upon startup.
Verifying Your Router VPN Connection
After setup, it's essential to confirm that your VPN is active and working correctly:
- Check Your Public IP Address: Connect a device to your router's Wi-Fi and visit a tool like WorldIP.io's What Is My IP. Your displayed IP address should be different from your actual home IP and should correspond to the location of your chosen VPN server. You might also want to check the Autonomous System Number (ASN) associated with your new IP, which can sometimes reveal your VPN provider's network.
- Perform a DNS Leak Test: Use an online DNS leak test tool to ensure your DNS queries are being routed through the VPN's DNS servers and not your ISP's.
- Test for WebRTC Leaks: Some browsers can leak your real IP via WebRTC. Use an online WebRTC leak test to verify protection.
- Speed Test: Run a speed test to assess the impact of the VPN on your internet speed.
Advanced Scenarios: Split Tunneling and Policy-Based Routing
For users who don't want all traffic to go through the VPN, many advanced router firmwares (like OpenWRT or DD-WRT) support:
- Split Tunneling: This allows you to specify which devices or applications use the VPN and which connect directly to the internet. For example, you might route only streaming devices through the VPN while keeping your work laptop on a direct connection for maximum speed.
- Policy-Based Routing: This is a more granular form of split tunneling, allowing you to route traffic based on source IP, destination IP, port number, or even domain name. This is useful for selectively encrypting traffic to specific services or websites.
Implementing these advanced features usually involves configuring complex firewall rules and routing tables within your router's settings.
Potential Challenges and Troubleshooting
- Slow Speeds: If speeds are unacceptably slow, try connecting to a closer VPN server, upgrading your router, or using a less CPU-intensive VPN protocol (e.g., WireGuard is often faster than OpenVPN).
- Dropped Connections: Ensure your VPN provider's servers are stable. Check your router logs for connection errors.
- Configuration Errors: Double-check all settings against your VPN provider's documentation. Small typos in server addresses or credentials can prevent connection.
- Firmware Issues: If you're using custom firmware, ensure it's stable and compatible. Reverting to an older version or trying a different build might resolve issues.
- DNS Resolution Problems: If websites aren't loading, verify your DNS settings. Try using public DNS servers (like Cloudflare's 1.1.1.1 or Google's 8.8.8.8) if your VPN provider's DNS isn't working, though this might compromise some privacy benefits.
For deeper network insights and troubleshooting, WorldIP.io also offers various network intelligence tools to assist with network analysis, helping you understand your connection's behavior and identify potential bottlenecks or misconfigurations.
